Thursday, November 3, 2011

Felt wreath

So I finished my felt wreath tutorial and though it isnt as beautiful as the one in the tutorial, I am really happy with it! I could have made it more dense as I had more circles left over.


To make it you need:
1 polystyrene wreath (mine was 34cm from spotlight for about $7)
3 metres of felt (approximately...I bought 3.5 but I have extra) which you can buy in wool or acrylic
An inkpad to stamp circles
A 7-8cm circle shape (I used a drinking glass)
Scissors
1 tin of pins (also from spotlight...you are going to need around 300 pins)

All you have to do is stamp circles, cut them out. Each one gets folded into quarters, push a pin through the bottom and attach. Seriously simple for such a beautiful results. I'm so glad I found this tutorial!

Christmas cards

A couple of variations on two themes tonight. I quite like this first design and might try it in some other colours.


The card below is so much nicer in person! It's actually a nice grey card (as are the ho ho hos) and the Christmas paper at the bottom shimmers.


Sunday, October 2, 2011

Completed wreath

Finished!


I put it on facebook but here is another photo in case I have readers here not on my facebook (hi, how come we arent, friend request me!). I like this photo coz it shows how uneven the flowers are in height but overall, it still looks adorable! If I wanted to spend a long time cutting the swirts perfectly the same width, it would be a perfect wreath, but I'm not that kind of gal! When I saw it, I had to make it...like THAT NIGHT! It's only going in my study anyway, not on the front door because I have plans for another style for the front door. Here, have another photo lol:


I should point out, that it looks uneven (bottom heavy) but it isnt, that's just the angle I took the photo from. Tonight I might make a few tiny flower to fill in a couple of little gaps I dont want. Here is the link to the instructions if you want to try.

http://yarner.blogspot.com/2011/01/paper-rose-wreath.html

I got a smallish wreath (23cm across) and used about 20 sheets of cardstock (that I already had, 210gsm). It was started and completed in two evenings (just while watching a movie or two). Give it a try, it's so easy!

Thursday, August 4, 2011

Envelope card

I made this envelope card tonight. I was meant to go to my friend Sheryl's but she forgot she invited me over (luckily I phoned before I left lol). So I went down to my craft room and made cards anyway. 

CARD ONE:
I kinda like the fact the colours clash but sort of still look ok together. I put it in the scanner as I thought that might be better than the weird colours I get when I photograph at night. Anyway, it's called an envelope card because that yellow and cream card in the middle (with the 'for you' message) lifts out so you can write a message in it. Something a little different anyway.


CARD TWO:
I think after tonight I'm all stocked up on true friend cards but I figure you can use them for birthdays as well as notes of friendship?
 CARD THREE:
The paper on this card and the one above is reversable and when I cut, one piece was 6cm and one 4cm...but that means I had one of each (but the opposite) left over so I decided to make a second card.
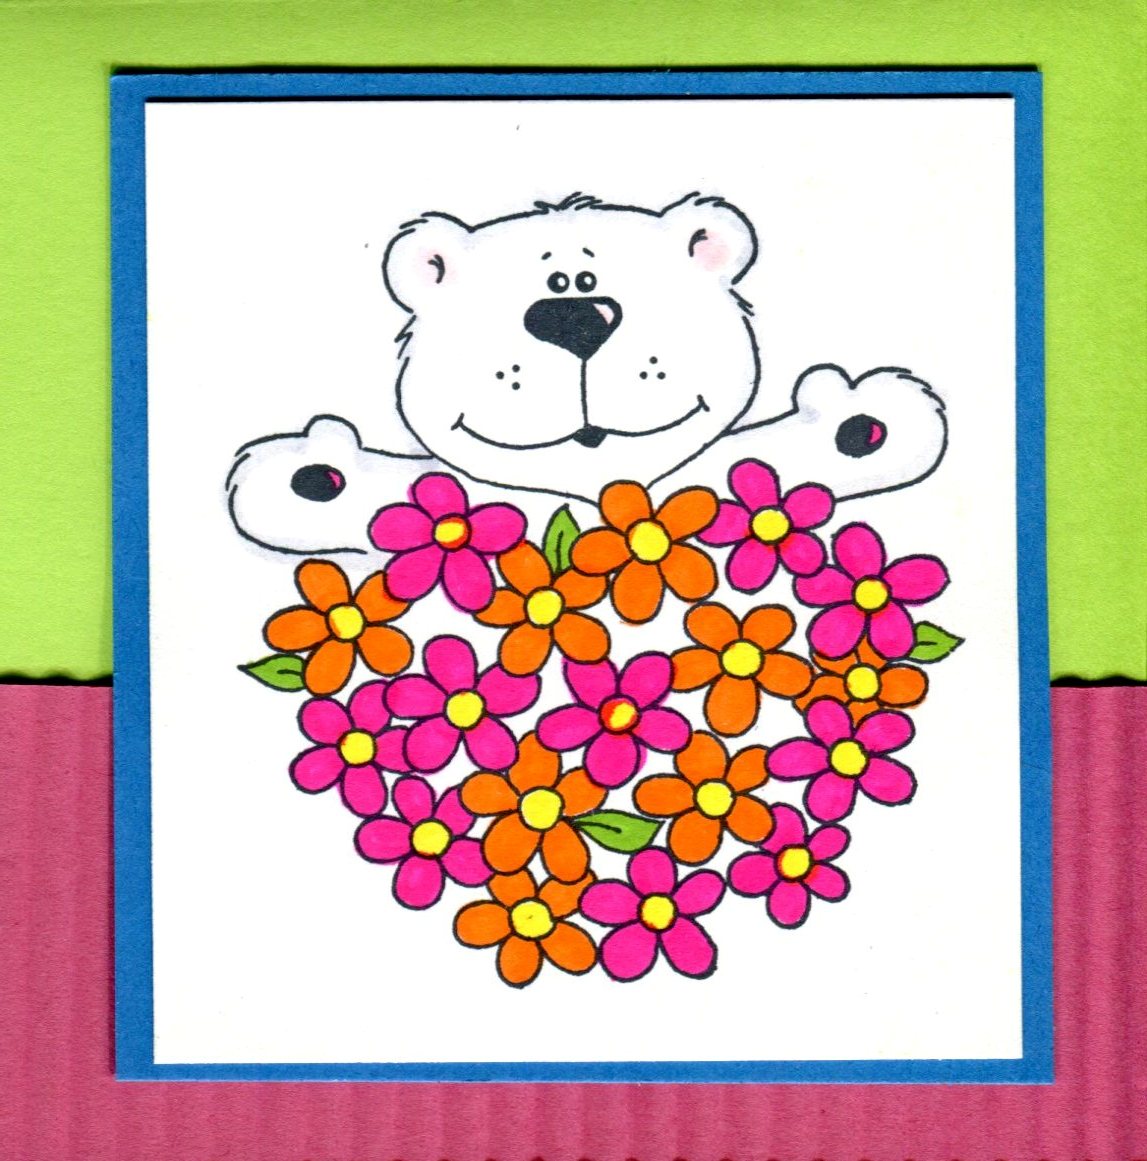
 CARD FOUR:
I loved this card. I made it when Megumi was here...but I liked it so much that I decided to make another copy tonight.
 CARD FIVE:
This card was a disaster! Nothing I did worked, colour schemes clashed, I cut everything crooked...nothing looked right. Worse still, I had bought a new snail adhesive and it stuck things perfectly for a good five minutes and then everything lifted off the card and I had to restick it (I threw it in the rubbish despite only buying it this evening). Those are diamantes in the corner. I call this one my disaster card of the night lol.

I think I'm up to 41 cards this year...pittiful effort!


Tuesday, July 19, 2011

33, 34 and 35

After a bit of soul searching, I've come to the conclusion that I need to return to my own style of card making rather than copying other people. In the end I'm always happier with the results when it is my design. So tonight I went to my friend Sheryl's house and made cards. I made three and helped her with some design ideas.

In the photos below, I'd like to point out a problem with the photography. The blue ink around the 'true friend' stamp is actually a dark navy but night photography hasnt done it any favours! Two cards are 'not quite navy' cardstock and one is 'very vanilla'.


Monday, July 18, 2011

Notecards

More embossed notecards. Card total is 32 after this lot, but I have made another 7 or 8 downstairs that are yet to be uploaded.


Wednesday, July 13, 2011

I am covered in ink!

Since I had no taiko class tonight, I went down to my craft room and made a few cards. I made another four or five that I didnt want to put in my scanner because they are covered in glitter so I will try to remember to take camera photos of them.

This one is for my taiko teacher who just bought a new house. It's such a cute card in person, it doesnt scan well!


Oh these are just silly note cards. I was playing with my embossing machine a few months ago and embossed lots of card stock so I figured tonight I'd at least turn them into something I could use. They're just quick cards. They look quite cute in person though.


These are also simple note cards. I discovered tonight that two of my stamps fit inside each other! This is a circle friendship stamp with another decorative edge stamp around it and then punched out with a scallop circle punch.


I need to make more cards, so far this year I've only made 27 or so!

Tuesday, May 24, 2011

A scarf I made for my friend then promptly forgot about. I saw the wool and thought of her (she loves bright colours) so bought it and made it and 10 months later we were having a discussion about MY scarves and I saw one I made of the same wool (different colour scheme) and it dawned on me that I had a scarf for her in my completed projects basket! Here is a close up so you can see the wool and then the scarf below:


Last year my friend was getting cold hands on her way to work so I knitted her these. I sent them to her in New Zealand and they never reached their destination!


Monday, May 9, 2011

cards 13-18

Most of these cards are from today, but numbers 16 and 17 I made at my cousin Judi's house on Wednesday.

Card 13. I was using up left over card stock from Chrissy's mother's day card. This is embossed using a big shot machine. It's my latest toy!
  CARD 14:

CARD 15: The ribbon caught the light, it is in fact, a perfect match to the background card.

 CARD 16: This photo is so discoloured! It's actually the same shade of purple card two photos above this. I have made this card before but with birds not owls and I love the owl.

CARD 17: The pear hides a leaf that I managed to stuff up. I dont much like this card, I prefer it not on a white card.

CARD 18: Favourite card of the day, I made this for MIL.It is Stampin' up rich razzleberry cardstock, ribbon, inkpad and brads. The stamp is also by them, as is the scallop edge punch. Only the flowers aren't stampin' up, they're from Lincraft. The colours were more gorgeous in person!

Thursday, March 24, 2011

9, 10, 11, 12...

The other day I was feeling sad so I went to the craft store and bought these seriously cute Penny Black stamps. Tonight I decided to make some children's birthday cards but I wanted them quick and simple.

This first one was just random bright colours and a left over piece of corrugated card I made for an earlier card:


For some reason, the next two arent scanned straight, but they're straight in real life. 


This one was using up leftover yellow card from Chrissy's card (in fact purple and yellow was her colour scheme of choice tonight). I dont mind the card but dislike the colouring in of the happy birthday. One colour next time. Also, the yellow is corrugated but it's hard to tell because it got a little squashed in my scanner.

Wednesday, March 23, 2011

cards 3-8

This one was yet again, using up all the left overs from the wedding cards I made. This card is a greenish brown but not as green as this looks:


I was aiming for a really fast card that was pretty so I could teach my friend card making. It only has three steps.1. Stamp the flower on. 2. Put ink on a sponge and make little circles around the edge to give it some shading (start by making the first circle off the card on some scrap paper). 3. Glitter the flower heads.


 The cards below are actually the colour of kiwifruit:


There is also a blue one (two of them actually) but they're refusing to load!

Tuesday, March 22, 2011

2.

A 5 minute postcard I made earlier tonight before heading to taiko. I used leftover card from the wedding cards I made a few weeks ago.

Monday, March 21, 2011

1.

Would you believe, this is the first card I've made this year! It was made at a stampin' up demonstrator party so was not my design. It needs a message down the bottom but I didnt like the ones she had there and knew I had some at home I preferred.

Perhaps it will get the ball rolling and I will make a whole heap more in coming weeks.