I haven't posted here for a while, but that is NOT to say I haven't been making cards because I have! The vast majority of them made at 2-4am so don't look too closely lol.
I made one of this first card. The reddy-orange wording was just because I had a half made card and wanted it to be useable.
This one I've made a few versions of. I made it in red, white and another colour but I've sent it and I cant find the photo. This version was for my friend Sheryl's birthday and I think I made three slightly different versions (one got sent to my friend Regina for her birthday):
I made this one tonight. Mostly because I bought that lace stuff on the left at kmart. It's enough for 9 cards and was about $2 or $3. The swirly flower pattern is raised up. Not sure if I like this card:
But this one came out super pretty. The photo does NOT do it justice! The fowers are also embossed (raised up):
And again, raised embossing. I was having an embossing night tonight lol. This photographed badly because I didnt use the flash and it is after 4am...but it is quite neutral an pretty. It is white card and ink called 'crumb cake':
This one I made tonight. This one is heat embossed which is like melting a powder over the stamp. Of the three panels, the middle one is raised (and therefore I had to raise the right hand side of the greeting so it would sit flat lol).
This card I started and hated...so when I got home I put some buttons on it and thought, "I'll use this to send to Bianca, she wont mind!" Not my best work peoples, but it doesnt matter because I tried and it got used at the end of the day.
More mushrooms, this time with a green sentiment. The colour match is much better in person (this time I used the flash). I made four copies of this card:
Two copies of this card. The paper on the bottom is kinda glossy:
And I also made two copies of this card. As you can tell, I was in need of some bulk card making that night...I was almost out of happy birthday cards! This card is actually very pretty in person:
This card drove me mental! Normally I use card weight on everything but this floral pattern (with built in glitter sheen) was paper weight and I could NOT get it to cut straight...I'll never use it again I can tell you right now lol. I made two of it and one is gone already.
This card was weird! A few cards up you can see it in reverse, with brown on bottom and floral on top. When I did that, I realised that I couldnt use the same stamp because it looked all WRONG. Since I was at Sheryl's house I didnt have my normal supply range so I just had to make do. It's useable but really not beautiful lol:
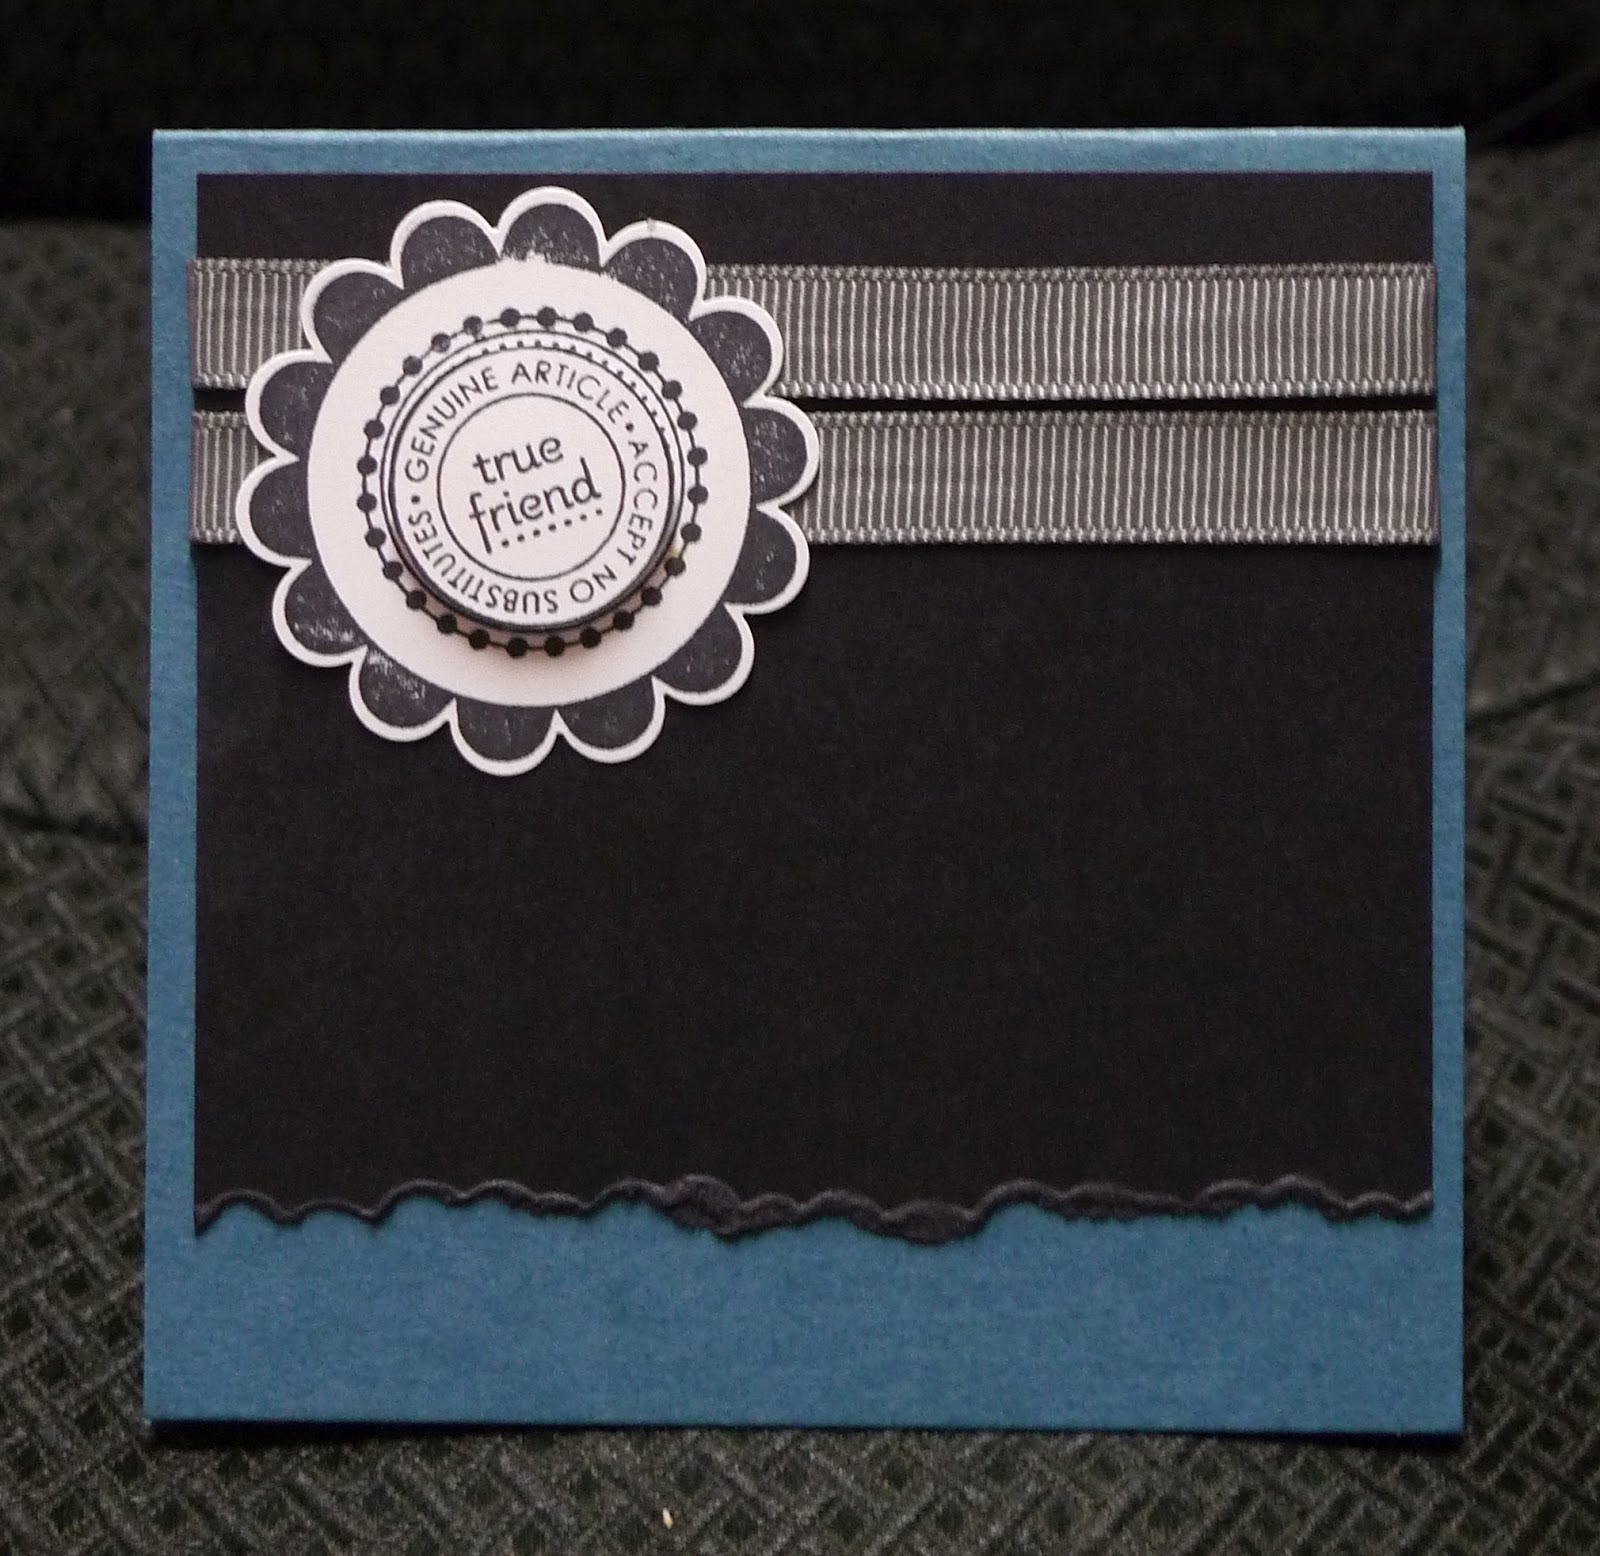
And I've saved the worst for last! This card is HORRIBLE. Actually there are two of them. They are too flat. They need dimension so I will be dragging them out of my drawer to add something to them to see if I can turn them into useable cards. Right now I wouldnt send them to anyone. The black flowers are glossy and the spots behind them match the blue paper but it just isnt right (yet). I'll fix them though-mark my words lol.