Tuesday, December 31, 2013

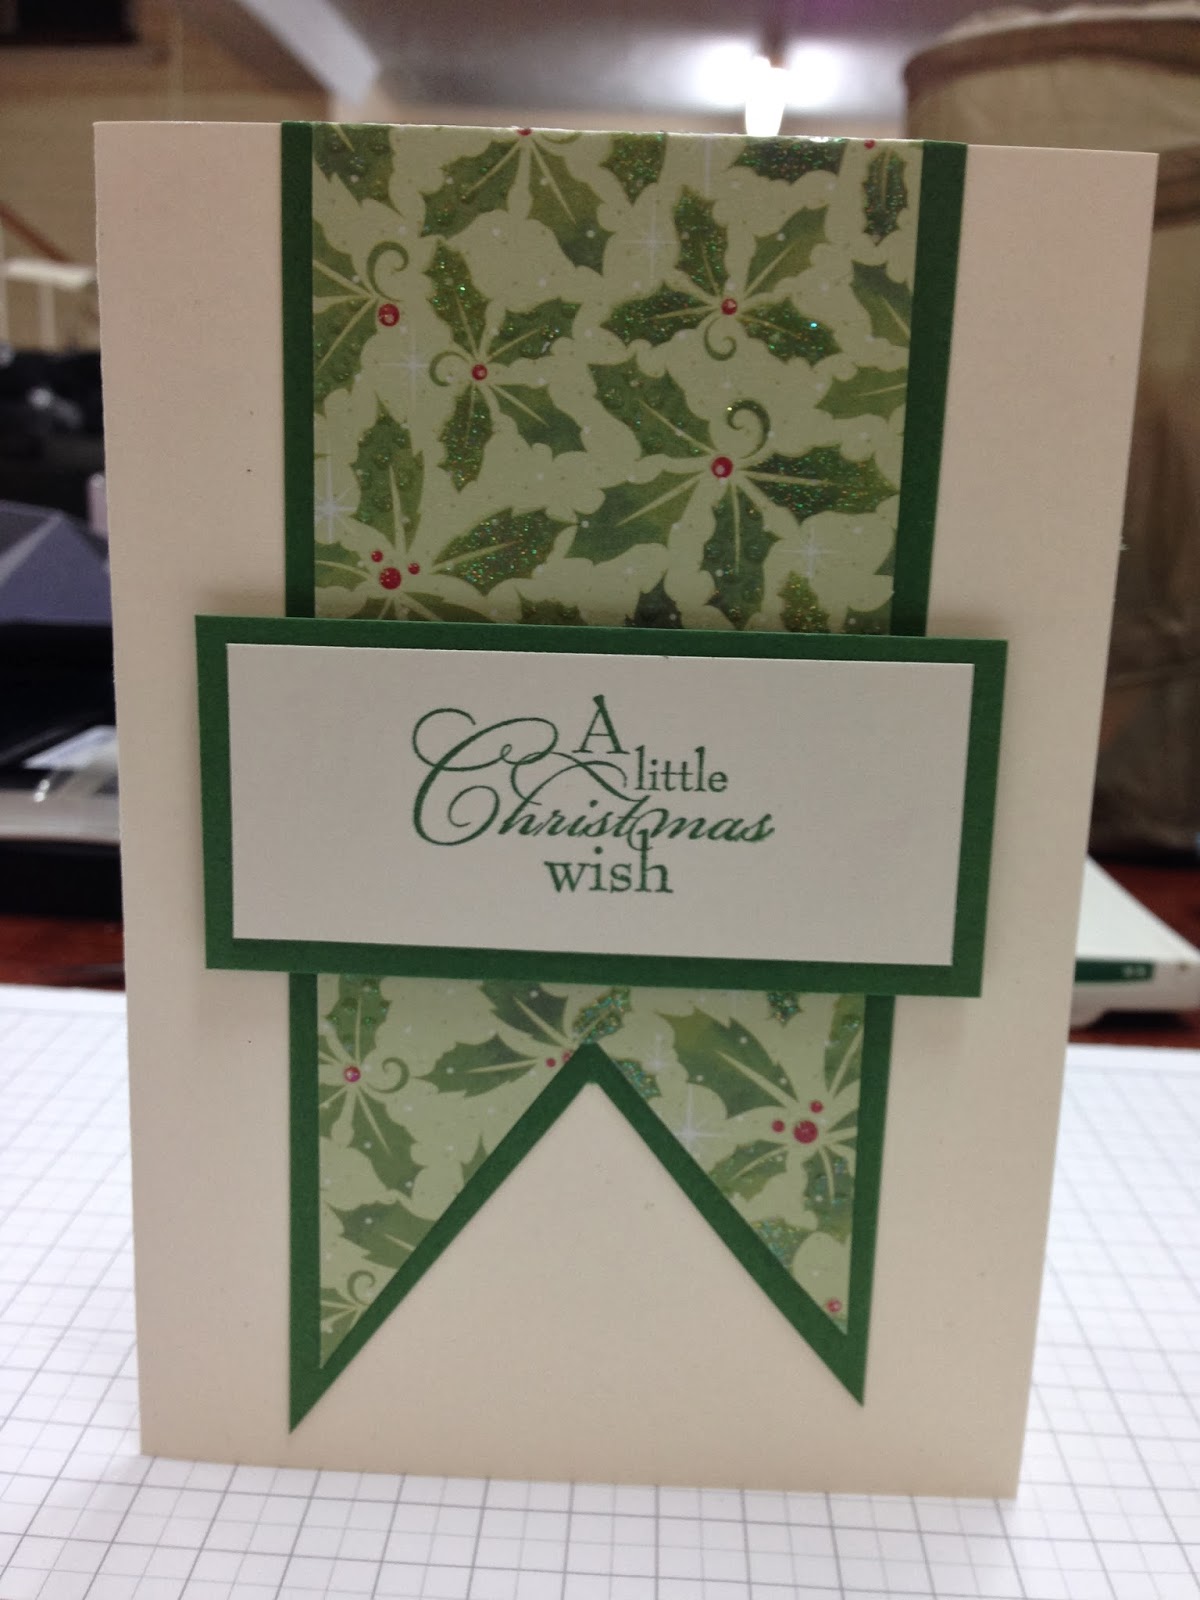
A few cards that I made towards the end of the year. The Christmas ones were really simple but quite pretty...the paper sparkled. All ended up going to my friend Maile so she can send them to people.


Sunday, November 17, 2013

Saturday, November 9, 2013

Cards...after a long break!

These first two cards, I call 'limited supplies to make cards' aka I was at Sheryl's and didn't take much with me!


Below are my first attempts at washi based Christmas cards!


Wednesday, June 26, 2013

60

Half way through the year and I am only at 60 cards made which is not too great! Time to put in some more effort.

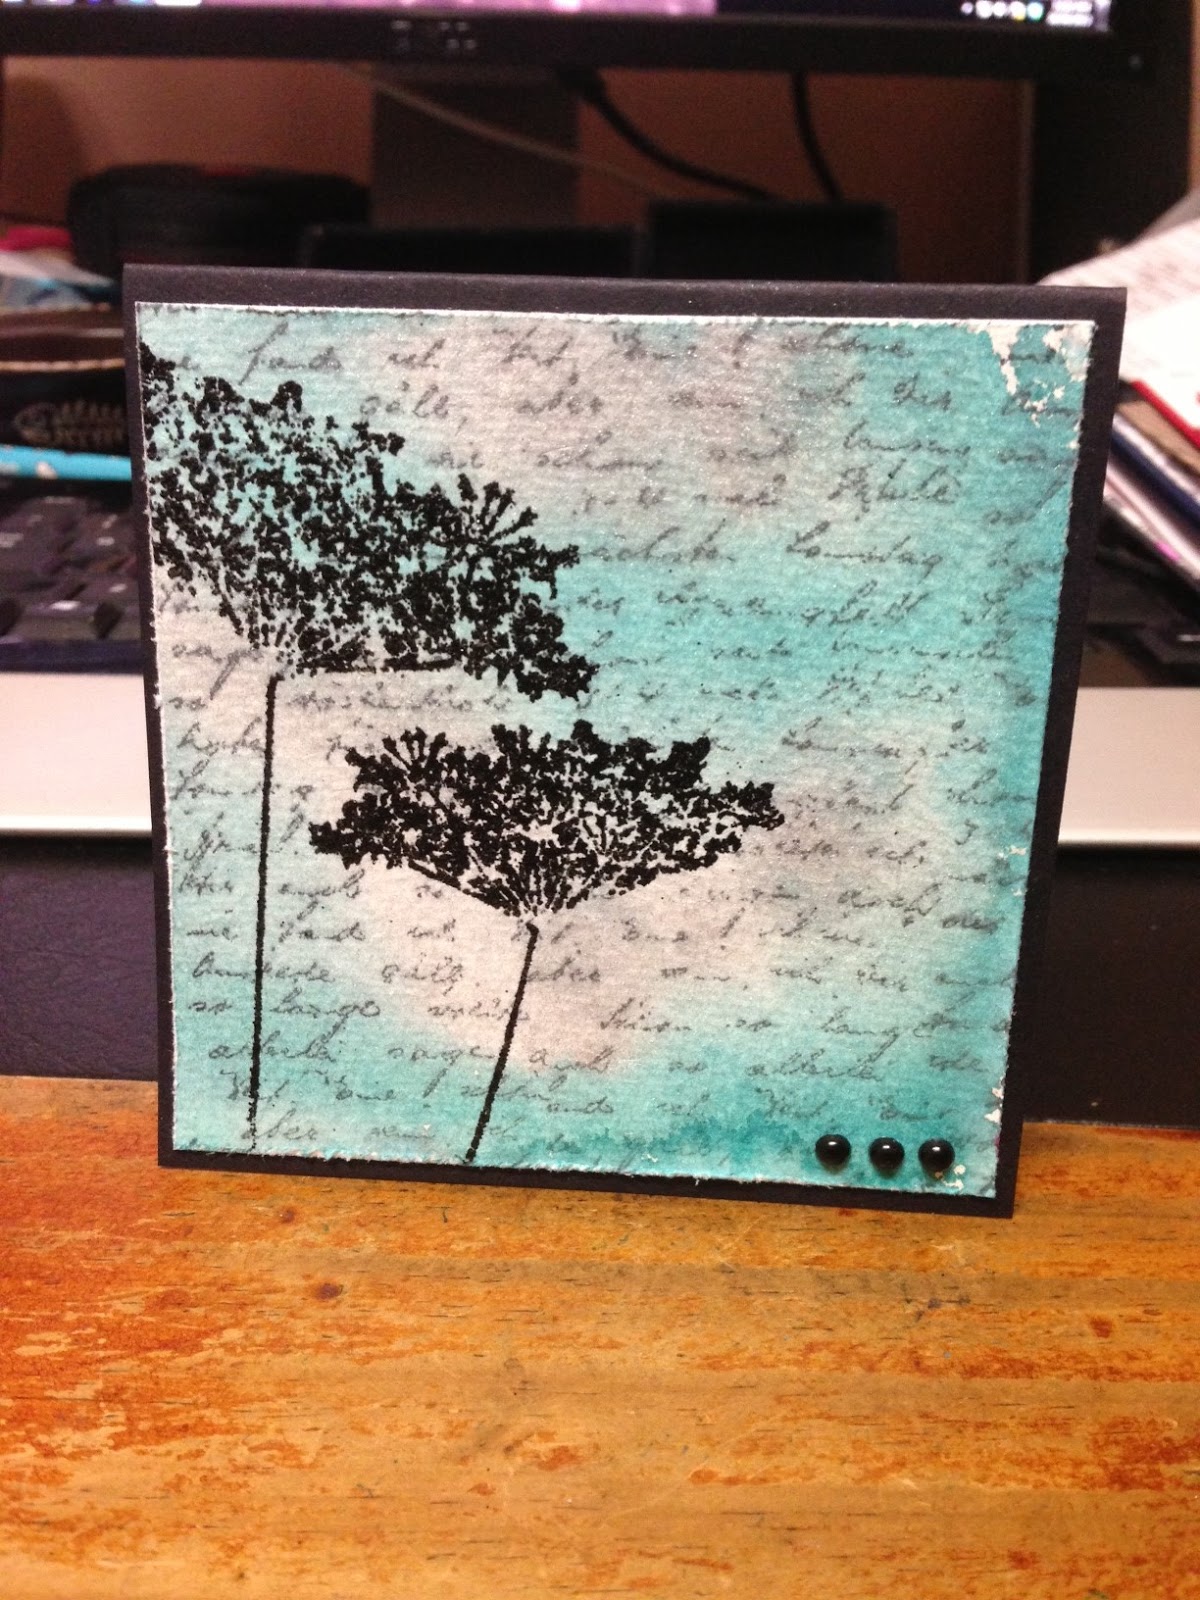
These cards are made by stamping french script onto watercolour cardstock, spritzing with water and washing with Distress Stains. I then heat dried it an embossed the flowers. I've made it in a few colours and one isnt pictured as my niece used it to write a poem inside.


This card was made at a stampin' up! card making afternoon at my friend Tash's house. We made three cards though I am somehow missing the third card to show you. The horizontal red was run through the big shot. The flowers were embossed then embossed again on red card (black embossing powder) then hand cut and raised using dimensionals.  A very simple yet pretty card.

This was also from the same card making demonstration. I've made this card before so it wasn't anything too difficult for me!

This one was to try out my new background stamp. I really want to emboss it soon! I will probably add something to this card but no idea what (as yet).


I cant decide which way I should use this card lol. I used my scoring plate to create the lines, then washed my stamp with two different colours. I quite like it for a flat card that is easy to post.


I masked this card and stamped it in pink ink. Then used a sponge to move the ink into the white spaces, thus giving the flowers a lighter (yet toned) effect. A few diamantes and a ribbon and all done!


Sunday, May 12, 2013

Cards 46-50

Cards 46 and 47: These cards used paper smooches geographic stamp set. The stamp itself is a bit faulty in that no matter what I do, I can't get it to stamp properly on the right hand side of the stamp. Luckily for me, this design meant I could cut off the faulty side. I coloured it in using Kopic alcohol markers. The two phrase stamps are also from Paper Smooches. I use that set a LOT these days, I love it! I like that it has an informal feel to cards and for the most part, these cards are going to friends.


Card 48 and 49: I copied this idea off pinterest and they are just 'ok'. I think next time I'll sponge on a second colour for interest, perhaps a grey. I also don't like the dragonfly and think I might cut one out and add it on 3-d...though the idea was to make a flat card for posting lol. They arent so horrible that I can't use them but I don't love them.


Card 50: I made this card some time ago. I used the doilies die from Stampin' up! and someone gave me a fantastic hint which I've used ever since. I put a layer of baking paper in between the die and the card stock and it makes it so much easier to pop out the negative space and clean up the die. I now use that technique on all my complex dies. Tonight I found this card again and knew I wanted SOMETHING on the bottom then recalled I had found some (years old) rub on greetings so I added it to the front. Rub on's are much easier when done with a bone scorer than the ice-block stick they give you with them! It may not be perfect but at least now it is useable!


Saturday, May 11, 2013

Made in 2012


I was just looking through my cards on my blog and couldnt find these two cards, which I made my sisters (identical twins) for their 40th birthdays last year. The construction of these cards is quite simple, the decorating is rather more painful as you must measure quite precisely! I liked how the turned out anyway!

Catch up cards 40-45

I've made a few card lately...here are some really bad photos for you lol.

This first card opens on a top fold and is black textured card. The card stock on top is shimmery. Whenever you work on shimmer card stock, you have to do a test first as the tones will be muted to some extent. I think I used basic grey (SU) and Red riding hood (SU) inks for this card. The ribbon was in a bulk pack of colours from spotlight. I made four copies of this card, one 'happy anniversary', two 'my friend' and one 'happy mother's day'. All stamps were Stampin' up!


I've shown you this card before. This time I used googly eyes for the owls (it was very cute) that I picked up in a mixed sized bag from The Reject Shop.


I was trying out my new chevron cutting plates in the big shot and made this card. The cutting plate has two different sizes so I created a thick and thin combination and attached it to the front of the card, trimmed both sides, rounded the tops and added a happy birthday banner. To cut the banner edge evenly, you can cut right up the middle of the strip, then from each corner, into that centre cut. The happy birthday stamp is from Paper Smooches and is my current favourite greeting set. If I was making it again, I'd be sure to move it further to the right so it wasn't covered by the button. The button came in a big jar from spotlight and bakers twine was purchased in N.Z. When I was finished, it looked...not complete? So I punched holes around the top of the card and quite like how it turned out. Note: if you want to post a card like this, the card has to be a slight bit skinnier or the banner has to stop right at the edge of the card (your choice).